Composition with PhiMatrix in the physical, non-digital world
The PhiMatrix can also be used for design and composition of non-digital projects, such as a canvas or wall. Just create the grid pattern you want and then use the Data Window feature to convert it to the physical dimensions needed for your project.
Select the appropriate grid, number of grid lines, axis orientation and other settings as needed for your project.
Using the Data Window to calculate dimensions
Open the Data Window by clicking on the XY icon on the top row of the Control Window or selecting File – Data Window from the menu options.
Click on the Data Window radio button option that says “User Project Dimensions”:

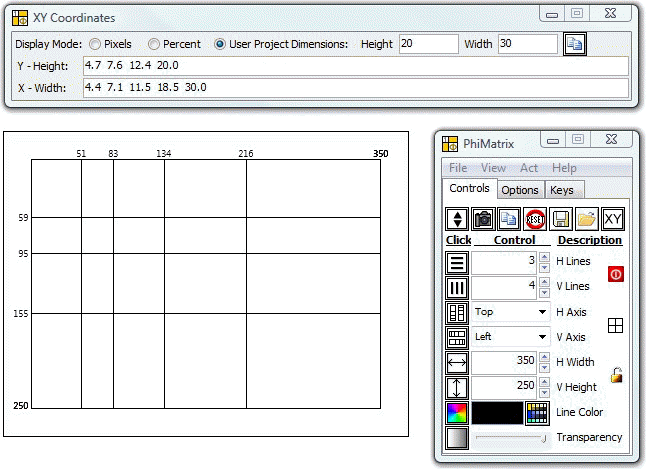
Type the height and width in inches, feet or meters into the two boxes provided and read the resulting dimensions in the same unit of measure for each grid line that appears in the Y-Height and X-Width boxes. The example below uses 20” x 30.”
Note in the example above that the dimensions of the grid itself can be completely unrelated to the physical dimensions of your project. The Data Window will still convert to your actual project size based on the dimensions you enter as the User Project Dimensions.
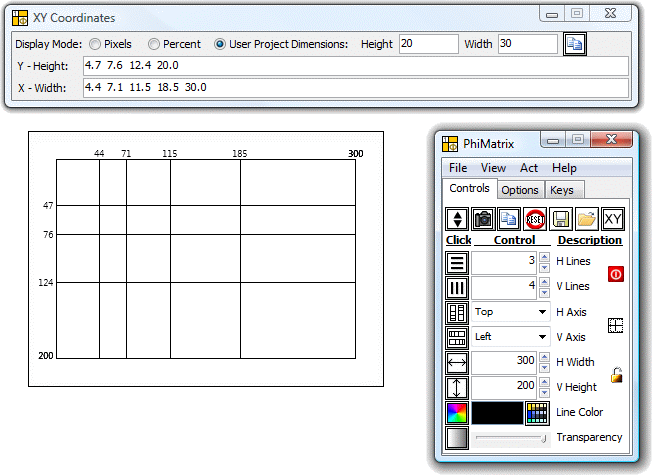
If your image on the screen has an identical height to width ratio as the one you’re doing in inches, a better alternative yet is to set the dimensions of the PhiMatrix grid to equal or mimic those of your actual project. If your project is 20” x 30” then set PhiMatrix for 200 x 300 pixels rather than 20 x 30 pixels to make it easy to read on the screen and divide the data points on the grid by 10 to get the results in inches.

Project a grid to a canvas or wall

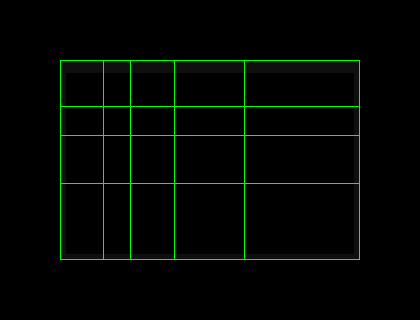
If you have a PC projector, the process is simpler yet. Just put a brightly colored PhiMatrix grid on a black background on your PC and then project the image onto your canvas or wall. You’ll be able to adjust the grid on the PC screen exactly to the dimensions of the canvas or wall just as though they were being projected by a laser.
.